
Last updated November 16, 2026
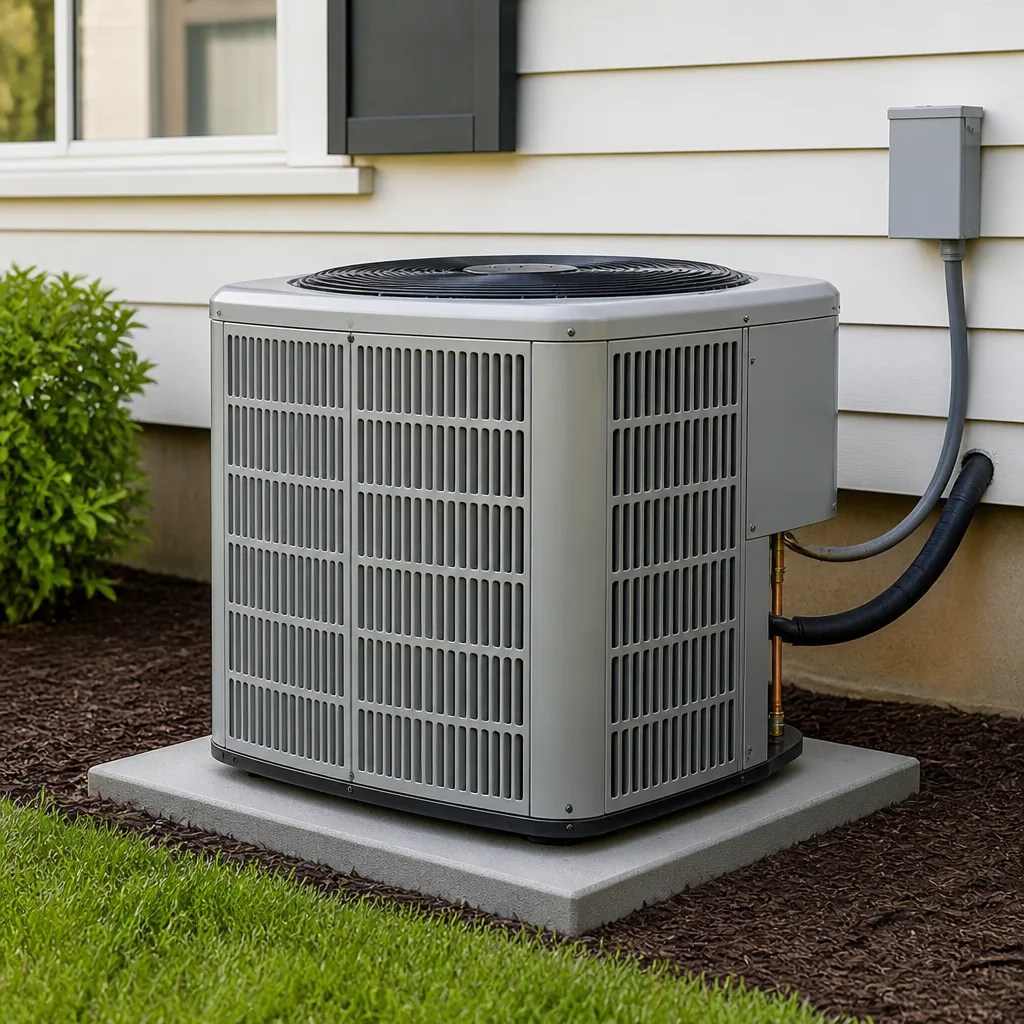 AC repair
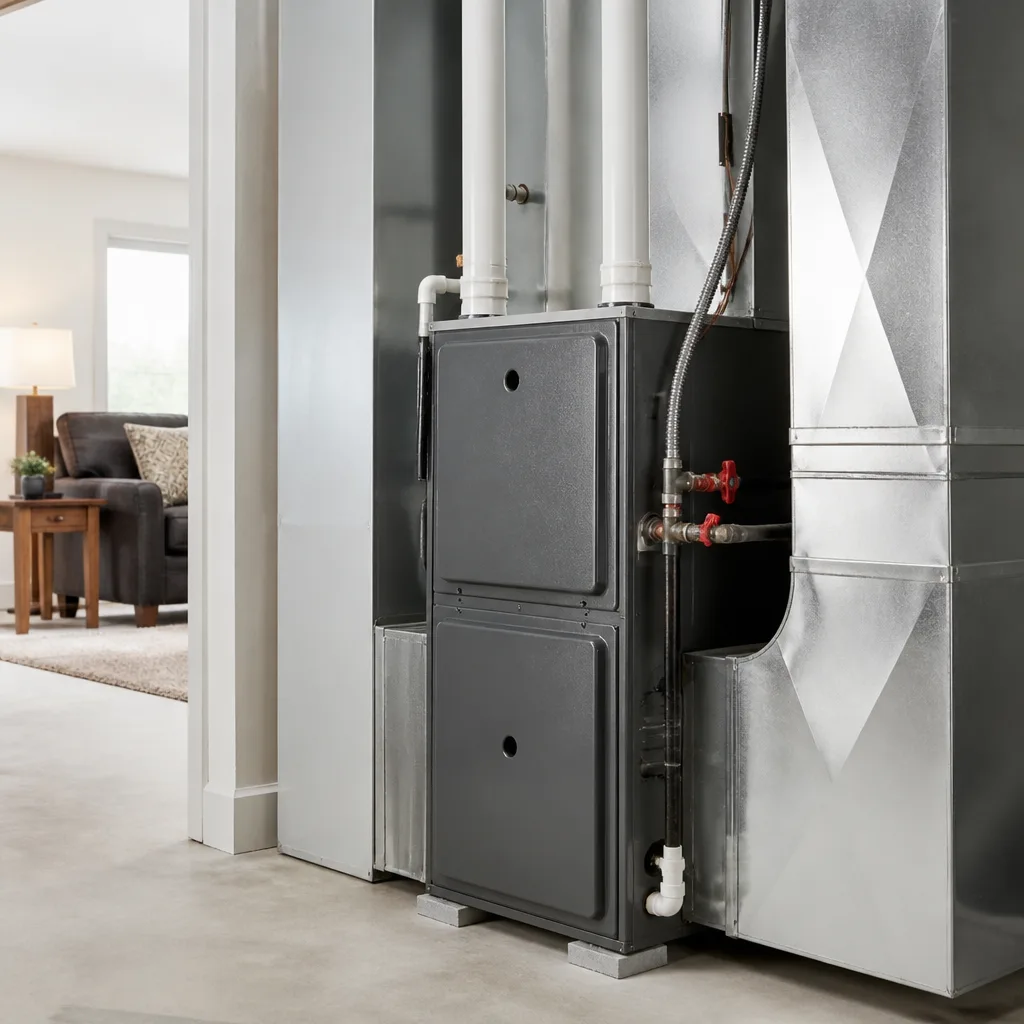 Furnace & heating
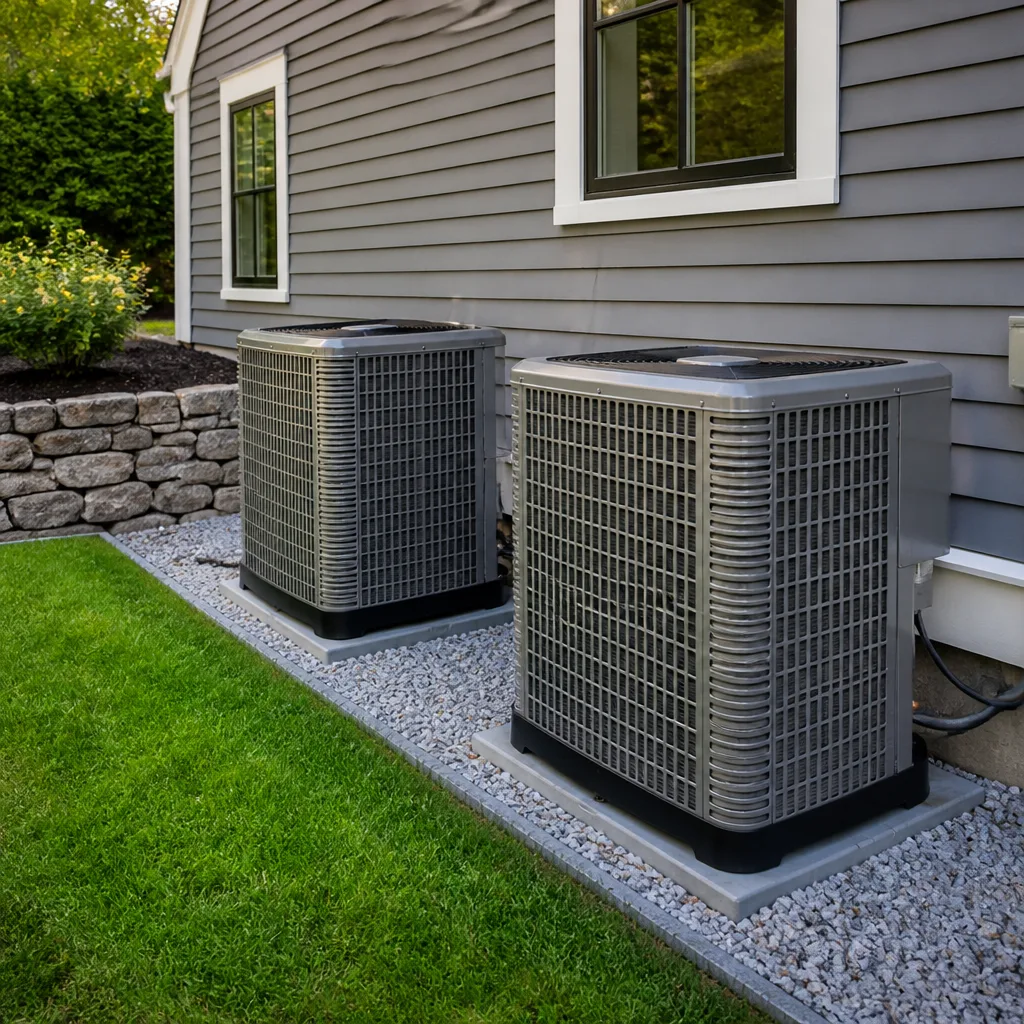 Heat pumps
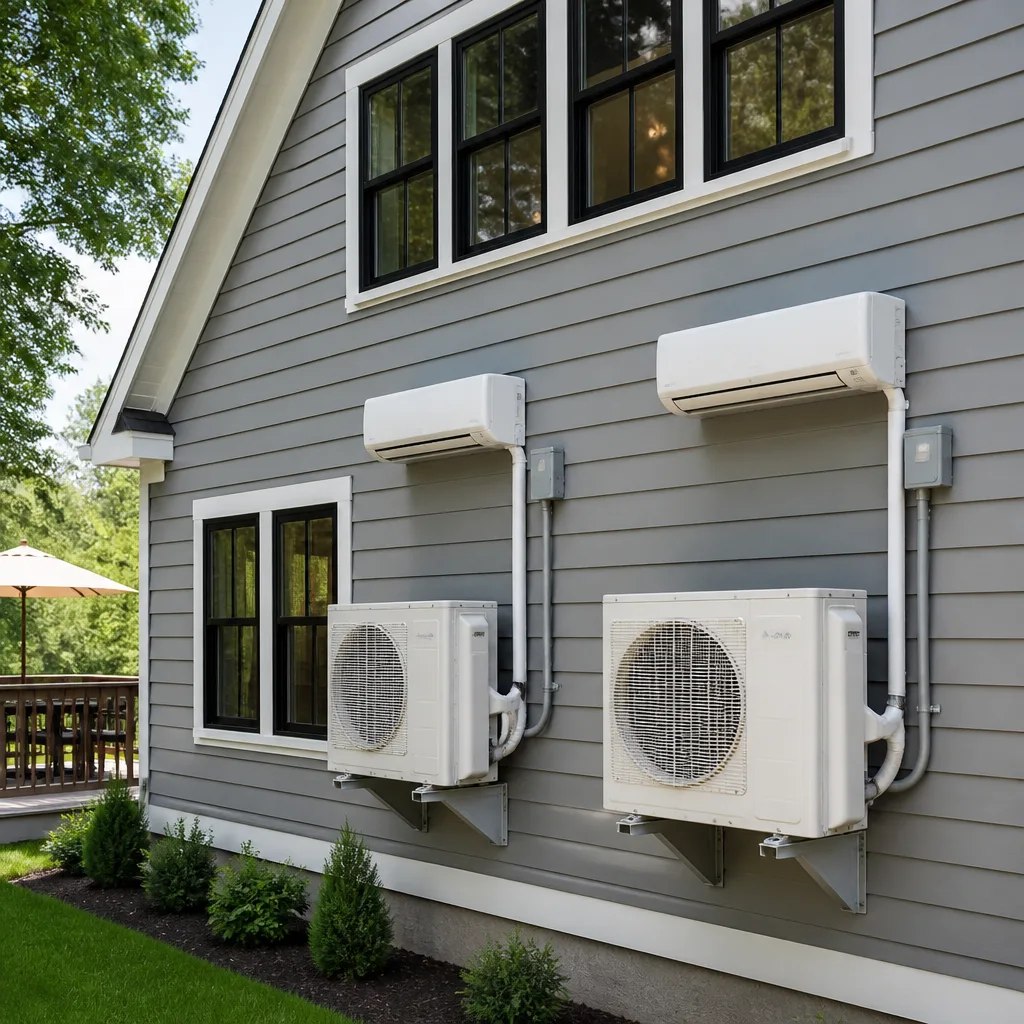 Ductless mini splits
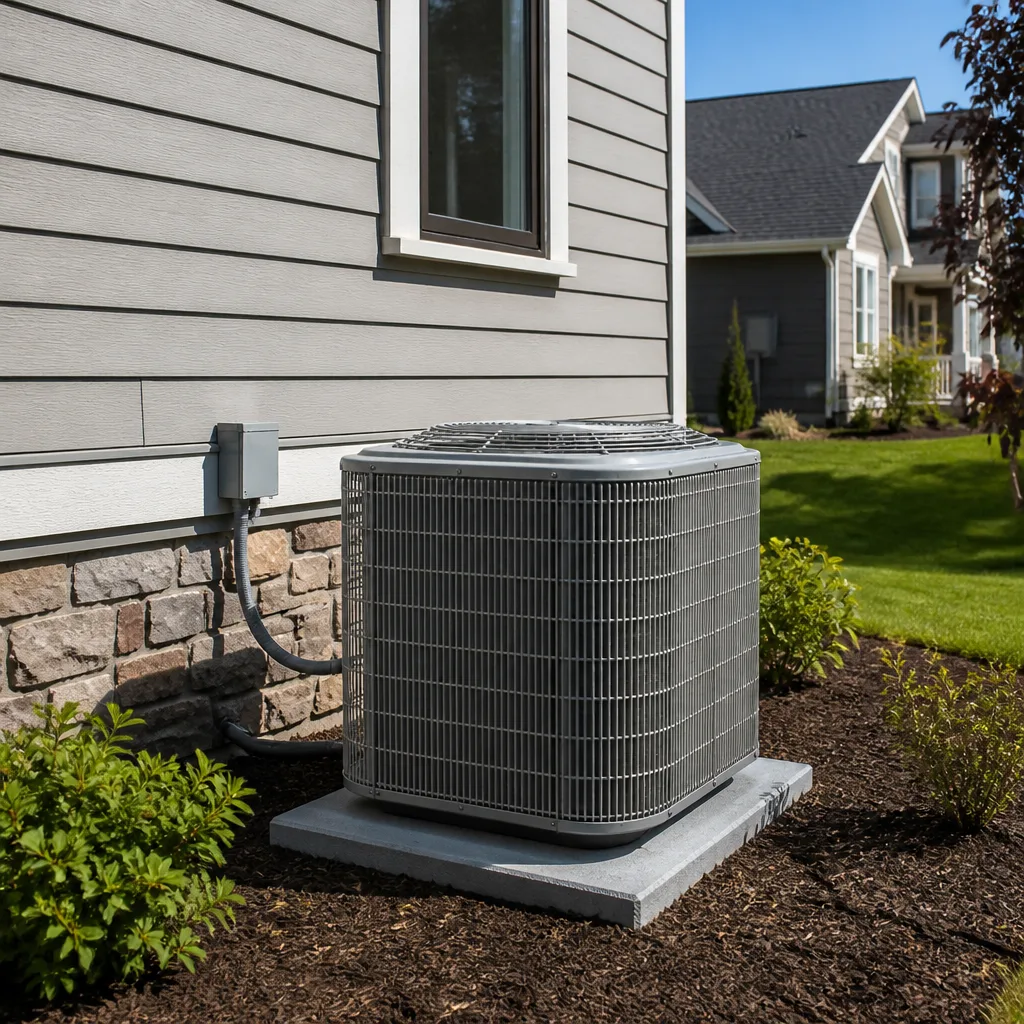 Carrier
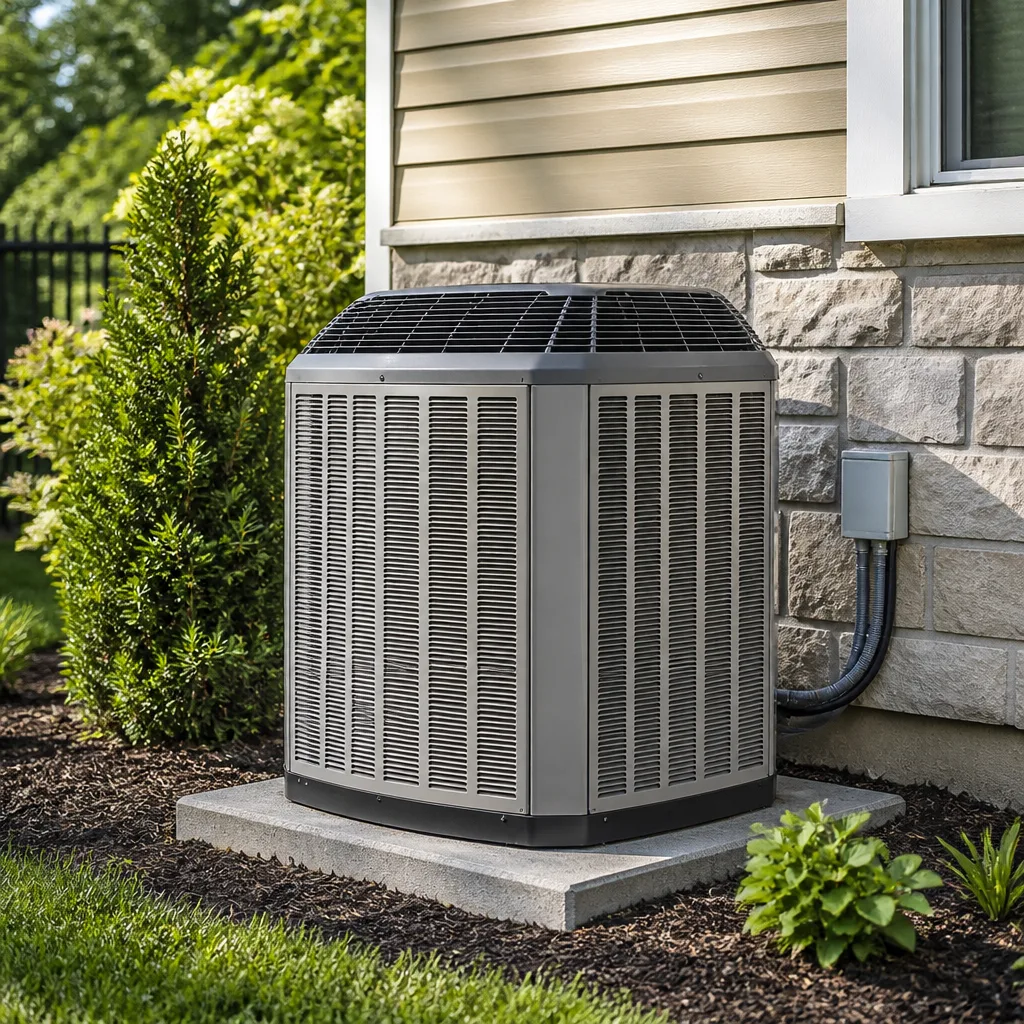 Trane
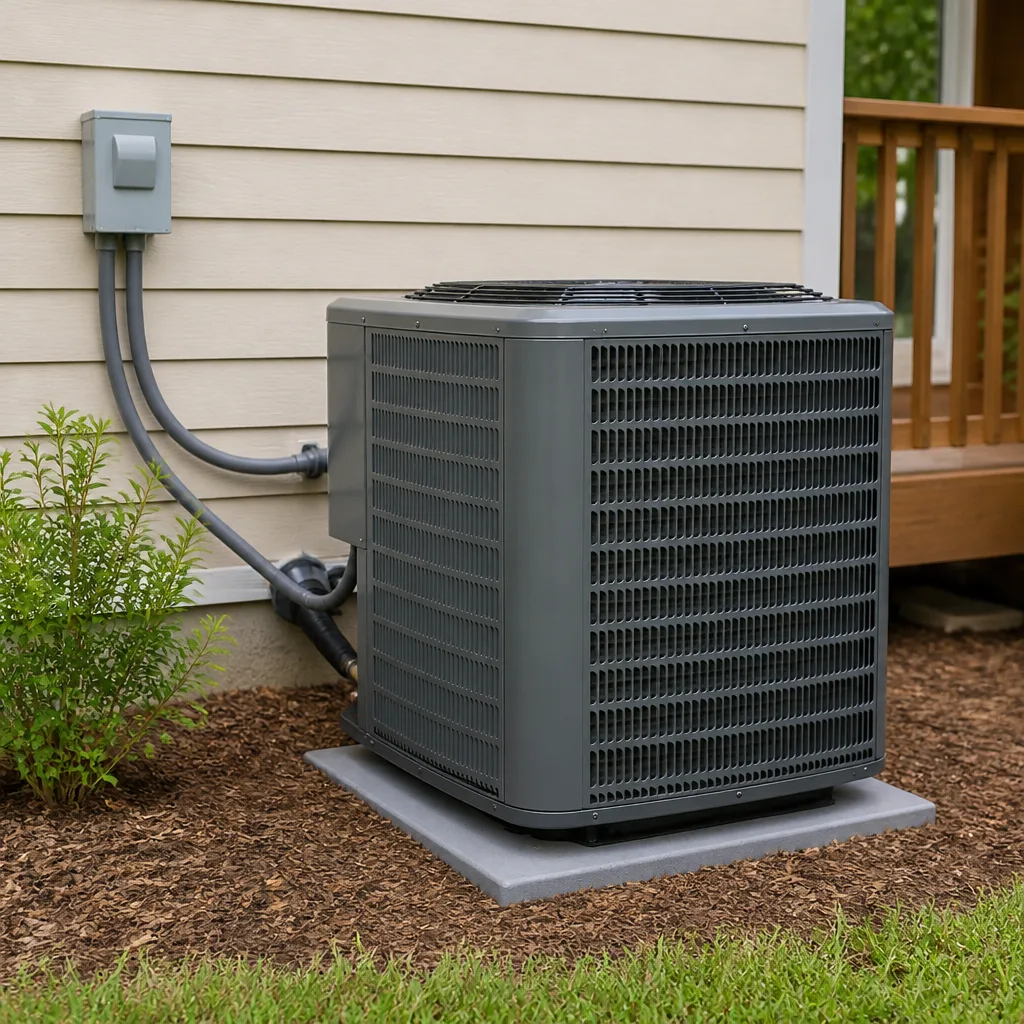 Goodman
Seasonal tune-up and full diagnostic on your Carrier, Trane, or Goodman system - readings shown to you before any repair is proposed
Diagnosis first, numbers second - you approve the repair price before a single part goes in.
Get your free estimateAC Installation Maintenance Checklist for Deltona Homeowners
The number one reason a brand-new AC underperforms in year two isn’t a bad unit. It’s a missed filter change or a drainage line that was never properly flushed after install, letting algae establish before the homeowner knew to look. Installation day gets all the attention, but the twelve months after it are where long-term problems quietly get baked in. Skipped startup verification, a charge that was rushed, a drain pan nobody told you about – each one is cheap to fix early and expensive to fix later. This checklist covers what to witness before you sign off, what to write down on day one, and what to do at 30 days, 6 months, and a year so your system in Deltona runs like it did the week it was installed.
Quick Answer
A proper post-installation maintenance routine starts before the installer leaves: you should see a static pressure test, refrigerant charge confirmation, and airflow readings at each register. After that, the homeowner’s job is simple – change the filter every 30 to 60 days, have the condensate drain flushed at each maintenance visit, and document the serial numbers, warranty registration, refrigerant type, and drain pan location on day one. The 30-day, 6-month, and 12-month checkpoints catch small issues while they are still small.
Styles & brands we work with
- AC repair
- Furnace & heating
- Heat pumps
- Ductless mini splits
- Carrier
- Trane
- Goodman
Table of Contents
- What to Watch For Before You Sign Off
- What to Document on Day One
- Deltona Maintenance Intervals That Differ From the Manual
- The 30-Day, 6-Month, and 12-Month Checkpoints
- How to Tell If Your System Was Actually Commissioned
- Brand-Agnostic Service and Why It Matters
- Common Mistakes to Avoid
- When to Call a Professional
What to Watch For Before You Sign Off
You paid for a commissioned system, not one that was just switched on. Commissioning means the installer measured how the unit was actually performing in your home – not how it performed on the factory floor – and made adjustments so the two line up. Ask to be present for these final checks. A technician who knows what they’re doing will walk through them without hesitation. Most reputable installers include them in the handoff, but the homeowner should know what “good” looks like.
Here’s what a proper final verification involves:
- Static pressure test. The technician measures the pressure inside the ductwork to confirm the blower isn’t pushing against a restrictive duct system. High static pressure forces the system to work harder and shortens the compressor’s life. The number should be in the range the manufacturer specifies for your model – the installer can show you the spec sheet.
- Refrigerant charge confirmation. A new system must be charged to the exact weight or subcooling/superheat target listed on the data plate. Undercharged or overcharged systems run inefficiently and wear out compressors. Ask for the reading and confirm it matches the target.
- Airflow measured at each register. Every room should get roughly the airflow its load calculation called for. A room that feels weak after install usually means a duct issue the installer didn’t correct. Walking room to room with the technician while they measure takes ten minutes.
- Condensate drain test and flush. The technician should pour water through the drain line and confirm it flows freely to the exterior or drain pan. In Deltona’s humid summers, the drain handles more condensate than systems in drier parts of the country, so the slope and trap matter.
- Thermostat calibration and programming walk-through. You should leave the install date knowing how to set the schedule yourself. If the thermostat is a smart model, ask the installer to demonstrate the app connection.
- Filter location and size. Knowing exactly what filter size to buy and where it goes prevents the most common year-one mistake – a dirty filter someone forgot to change because they didn’t know where it was.
Signing off isn’t a formality. If the installer skipped any of the above, ask them to complete it before you accept the job. This is also the moment to feel comfortable asking about your Deltona AC Repair options if anything looks off.
What to Document on Day One
Most homeowners never look at their AC paperwork again until the system fails. By then they’ve misplaced the warranty registration, forgotten the refrigerant type, and can’t remember where the drain pan even is. Ten minutes of documentation on install day saves hours of head-scratching later, and it can mean the difference between a warranty repair and a paid one. Here’s exactly what to capture and where to keep it.
- Model and serial numbers for both the outdoor condenser and indoor air handler. Photograph the data plates directly; the numbers can fade.
- Warranty registration confirmation. Many manufacturers require registration within a set window – typically 60 to 90 days – to activate the full equipment warranty. Confirm the installer registered it and get the confirmation number.
- Refrigerant type. R-410A is the most common in recent installs, but newer systems may use R-32 or another refrigerant. Knowing which one you have matters when a technician arrives with gauges.
- Drain pan location and drain line routing. Note both, with a photo. If water appears on the floor someday, you’ll know exactly where to look.
- Filter size and location. Write the size on a sticky note inside the unit’s access panel.
- Load calculation and commissioning readings. Ask the installer for the room-by-room load calculation, the static pressure reading, the refrigerant charge, and the airflow measurements. These are the baseline against which future problems get diagnosed.
- Install date and the contractor’s contact. Both matter for warranty claims.
Keep everything in a single folder – physical or digital – with a clear label like “HVAC.” The next time a technician opens it, they’ll see the full history of your system in seconds. That’s worth more than most homeowners realize.
Deltona Maintenance Intervals That Differ From the Manual
The manufacturer’s manual assumes an average home in an average climate. Deltona isn’t average. Summer humidity runs high for months on end, the AC runs nearly continuously from May through September, and the resulting condensate volume is heavier than what owners in drier regions manage. That means a few maintenance intervals should be tightened up compared to what the manual suggests.
Filters
Manual language often says “check monthly, replace as needed.” In practice, during Deltona’s cooling season, most 1-inch filters need a change every 30 to 45 days, not every 90. If you have pets or a home with more foot traffic, 30 days is more realistic. A clogged filter is the single most common cause of year-one airflow problems, and it’s the cheapest to prevent.
Condensate drain
Standard guidance recommends a drain flush at each professional maintenance visit. In Deltona, algae grows readily in a warm, wet drain line, and a partially clogged line can back up into the drain pan or into the home before a homeowner notices. Have the drain flushed at every visit, and during the cooling season, pour a cup of distilled white vinegar down the access port once a month. It’s not a substitute for professional cleaning but it slows algae between visits.
Outdoor coil cleaning
Pollen, dust, and grass clippings accumulate on the outdoor coil faster than the manual implies. Rinse the coil with a garden hose every 60 to 90 days during spring and summer. Never use a pressure washer – it bends the fins.
Full professional tune-up
The manual may list annual; we recommend a spring tune-up timed for late March or early April, just before the heavy cooling demand hits, and a brief fall check to confirm the heating side is ready. That’s two visits a year, and both catch problems while they’re still small.
The 30-Day, 6-Month, and 12-Month Checkpoints
A brand-new system has a settling-in period. Ductwork, refrigerant, and controls all behave slightly differently once the system has run for a month. Here’s what to do at each checkpoint so a small issue doesn’t become a big one. The AC installation isn’t finished until you’ve walked through all three.
30-Day Checkpoint
- Change the filter. The first month catches construction dust from the install itself.
- Verify cooling in every room. Walk to each register with a thermometer on a hot afternoon. If any room is more than 3-4 degrees warmer than the thermostat set point, flag it for a follow-up.
- Listen for odd sounds. Squealing, rattling, or a repeated clicking at the outdoor unit usually means a fastener loosened during transport or install. Note it and call.
- Confirm registration and warranty paperwork. If the manufacturer hasn’t sent a confirmation email, follow up.
- Check the drain. Look for standing water under the indoor unit. A trace is normal; a puddle isn’t.
6-Month Checkpoint
- Second filter change. Roughly 120 to 180 days after install, the second filter is due.
- Schedule the mid-season tune-up. A technician checks refrigerant charge, cleans the outdoor coil, flushes the drain, and confirms electrical connections are tight.
- Compare your energy bill. A new system should show a measurable drop against a similar prior month. If the bill hasn’t moved, airflow or charge could be off.
- Wipe down the thermostat. Dust buildup on the sensor skews readings.
12-Month Checkpoint
- Annual professional tune-up. Have a technician perform a full inspection – coils, drain, charge, electrical, blower.
- Third and fourth filter changes done on schedule.
- Review the first year’s records. Any service calls, any readings, any warranty items. Keep them with your day-one documentation.
- Consider a duct inspection if you noticed uneven cooling at the 30-day checkpoint and it wasn’t resolved.
How to Tell If Your System Was Actually Commissioned
Plenty of systems get switched on and abandoned. Commissioning is the work that happens between install and handoff, and it’s what turns a piece of equipment into a functioning part of your home. Homeowners who don’t know what to look for often can’t tell the difference – until year two, when the inefficiencies surface as higher bills and shorter equipment life.
These are the signals a system was properly commissioned, and the red flags that say otherwise:
- You received a paper or digital record of the readings. Static pressure, charge, and airflow numbers, written down. An installer who “always does it” but can’t produce the numbers didn’t document them, which means they can’t prove it later.
- The technician returned after roughly a week. A brief follow-up visit to recheck charge and airflow is standard on a properly managed install. Not every installer does one, but the ones who do tend to catch settling-in issues before the homeowner notices.
- Ductwork was verified, not assumed. If your home had duct issues before the install, they should have been corrected or documented. A new unit on old, restricted ducts is like a new engine in a car with a blocked fuel line.
- The drain line was flushed and the pan was in place. The technician should have tested the drain by pouring water through it.
- Warranty registration completed and confirmation given. If the installer says “the manufacturer handles it,” verify directly.
- Red flag: no one measured anything. If the install involved no gauges, no manometer, and no airflow readings, the system wasn’t commissioned. It was placed.
If you suspect your last system wasn’t commissioned, a post-install review is worth scheduling. It’s a small investment compared to compressor replacement a few years down the road.
Brand-Agnostic Service and Why It Matters
A checklist is only as good as the technician reading it. When you have equipment from Carrier, Bryant, American Standard, or Daikin, you want a service team that has worked on that equipment – not one whose training stopped at a single factory’s product line. Our technicians have up to 12 years of experience, and they’re trained on nine major HVAC brands: Carrier, Trane, Lennox, Goodman, Rheem, York, Daikin, Bryant, and American Standard. That breadth means the recommendation you get is shaped by your system and your budget, not by a dealer incentive program tied to one manufacturer.
It also matters for the checklist itself. Each brand has slightly different commissioning specs, slightly different refrigerant targets, and slightly different drain routing on the indoor unit. A technician who works across all nine brands reads your specific system rather than defaulting to a familiar one. And because we also handle furnace work – both furnace repair and full replacement – the same team that installed your AC can service the heating side without a second call to a different contractor.
If you own a value-tier system from Goodman or Rheem, or legacy equipment from Trane or Lennox, you’re covered. If you’re planning a new install, the same coverage applies. Whichever brand is on your system’s data plate, that’s the brand we work on.
Common Mistakes to Avoid
- Skipping the filter for “a few more weeks.” In Deltona’s long cooling season, “a few more weeks” turns into two months and a clogged coil. Change on a fixed calendar reminder – not on feel.
- Assuming warranty registration happened automatically. Confirm it in writing, either from the installer or from the manufacturer directly. Missing the registration window is a common and preventable loss.
- Ignoring a small drain drip. In our humidity, a drip becomes a backup fast. Catch it at the pan, not on the floor.
- Running the system with doors open to “air out” the house in summer. That pulls humid outdoor air inside and makes the system work harder than it should. Close up and let the AC do its job.
- Trusting “the technician checked it” without seeing documentation. If they didn’t measure it, they didn’t check it. Ask for the readings.
- Letting the outdoor coil grow a mat of grass clippings and dust. A quick rinse every couple of months prevents the efficiency drop nobody notices until the bill arrives.
- Skipping the annual tune-up because “the system is new.” The first two years are when small factory-related issues surface; the tune-up is the cheapest time to catch them.
When to Call a Professional
Some of this checklist is homeowner work – filter changes, visual checks, and drain flushes between service visits. The rest needs a trained technician. Call a professional if you see water pooling under the indoor unit, if any room stays warm after a filter change, if the outdoor unit makes grinding or screeching sounds, if the drain line backs up, or if your energy bill climbs without an obvious cause. Call before the season turns, too: a spring tune-up timed to late March catches refrigerant and airflow issues while they’re still minor. In Deltona, Deltona AC Repair offers free estimates on installs, tune-ups, and repairs. Call (888) 850-1463. We answer 24/7. Fast dispatch from 7am to 7pm, Sunday through Friday.
See the difference
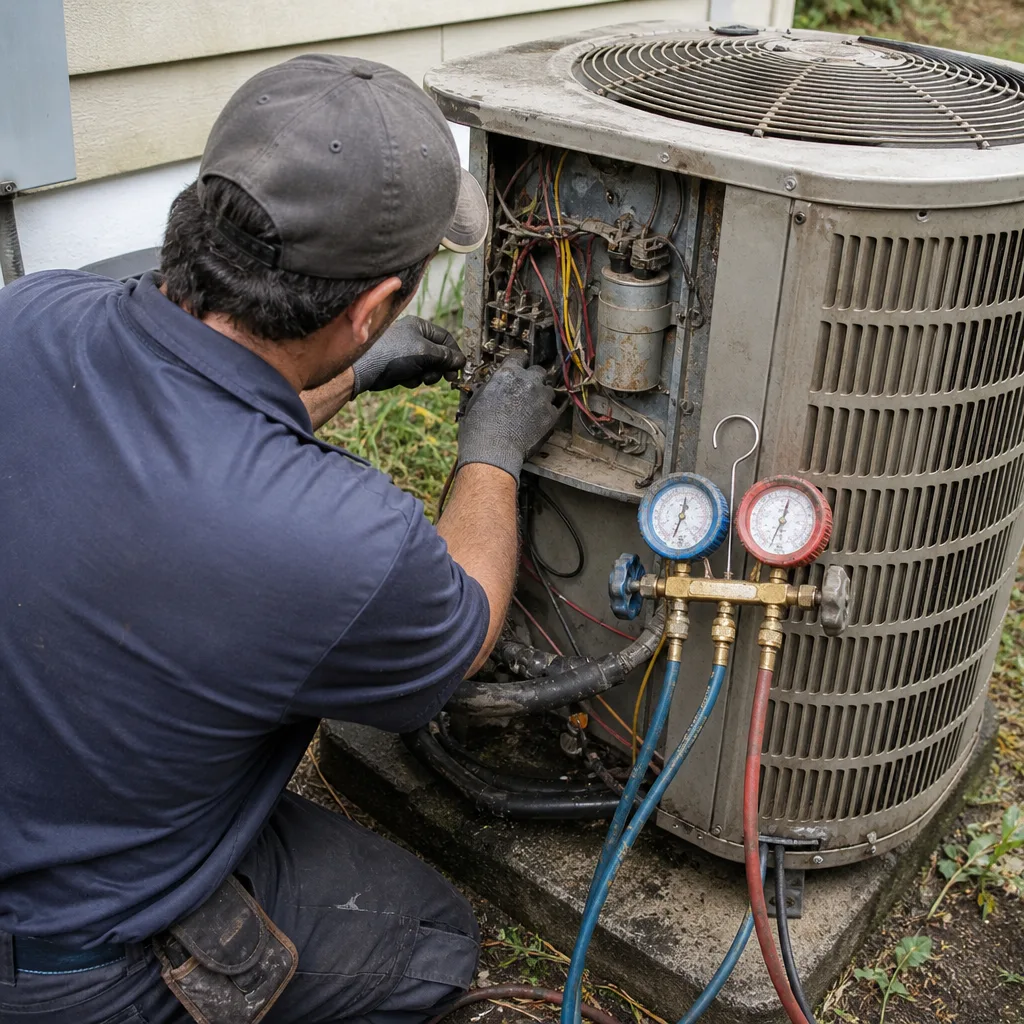 Before
 After
 Before
 After
 Before
 After
Frequently Asked Questions
Every 30 to 45 days during the cooling season, more often if you have pets or dirt roads nearby. The manufacturer’s manual often says “monthly or as needed,” which is too vague for our climate; treat 30 days as the floor between May and September. Call (888) 850-1463 if your filter is loading up faster than that – it can signal a duct or airflow issue worth checking.
Schedule the first professional tune-up roughly 6 months after install, timed to the start of the season you use most. For a new AC in Deltona, that’s often a spring tune-up the following year. The first tune-up confirms the system settled properly and catches any issues that only showed up once the equipment ran under load. Call (888) 850-1463 for a free estimate on a post-install tune-up.
Ask for your static pressure reading, refrigerant charge confirmation, airflow measurements at each register, and the signed warranty registration confirmation. A properly commissioned system will have all of these. If the installer can’t produce them, the system wasn’t commissioned and the readings should be taken before you sign. Estimates for a return visit to complete commissioning are free – call (888) 850-1463.
Yes, but the failure is almost always a maintenance or commissioning issue rather than an equipment defect. Clogged filters, a charge that drifted, and drain line blockages account for the majority of first-year problems. All three are preventable with the 30-day and 6-month checkpoints in this guide, and all three are cheap to fix when caught early. Call (888) 850-1463 if you suspect a first-year issue.
In a single labeled folder – physical or digital – alongside the model and serial numbers, refrigerant type, load calculation, and commissioning readings. The next technician to touch your system should be able to open the folder and see your system’s full history in under a minute. If any part of that folder is missing, call (888) 850-1463 and we can help you reconstruct what’s needed.
No. The same team that handles AC installation can service furnace repair and full replacement, including equipment from brands like Carrier, Bryant, American Standard, and Daikin. Keeping the heating and cooling work with one team means one point of contact and one service history for the whole system. Free estimates on furnace work are available in Deltona – call (888) 850-1463.
The Bottom Line
A new AC’s first year is its most consequential one. The parts that fail in year two or three were almost always set up or neglected in year one – a filter nobody changed, a drain nobody flushed, a charge nobody verified, a warranty nobody registered. The homeowner’s checklist is short: watch for commissioning readings before you sign off, document the system details on day one, and keep the 30-day, 6-month, and 12-month checkpoints on a calendar. Do those three things and the equipment does what you paid for. Skip them and you’re paying for the same install twice. Deltona’s humidity makes the drain and filter items more urgent than the manual suggests. Everything else is discipline.
If you’d like a trained technician to walk through your system or confirm what’s on your install paperwork, we’re here. Call (888) 850-1463 for a free estimate. We answer 24/7. Fast dispatch from 7am to 7pm, Sunday through Friday.
Written by the team at Deltona AC Repair.